

From the smoking ruins of The Silent Sorcerer's tower, Skullsword sends forth nonsensical artwork and useless gaming tools. He also likes to discuss RPGs, boardgames, miniatures painting, writing, movies, books, and whatever else strikes his fancy. Mostly though, his goal is to provide fun and goofy things to inspire others in their games. Enjoy!
Sunday, April 22, 2012


5 miniatures finished this weekend
A Giant Snake
A Skulking Assassin
A Sinister Mummy
A 1920s Adventurer
A Starship Captain
It's good to be painting again.
Sunday, April 15, 2012

Sunday, April 8, 2012

Sunday, April 1, 2012
Miniatures Monday

Sunday, March 25, 2012

Monday, March 19, 2012

Friday, March 16, 2012
M.A.R. Barker
Word has it that Professor Muhammad And-al-Rahman Barker, creator of the world of Tekumel has died. A sad day for fantasy enthusiast and gamers alike.


Jack Vance
There is now an official Jack vance website! If you like Jack Vance, go check it out. If you don't know who Jack Vance is, read his Dying Earth books, and then go check it out! :-)


Sunday, March 11, 2012
Saturday, March 10, 2012
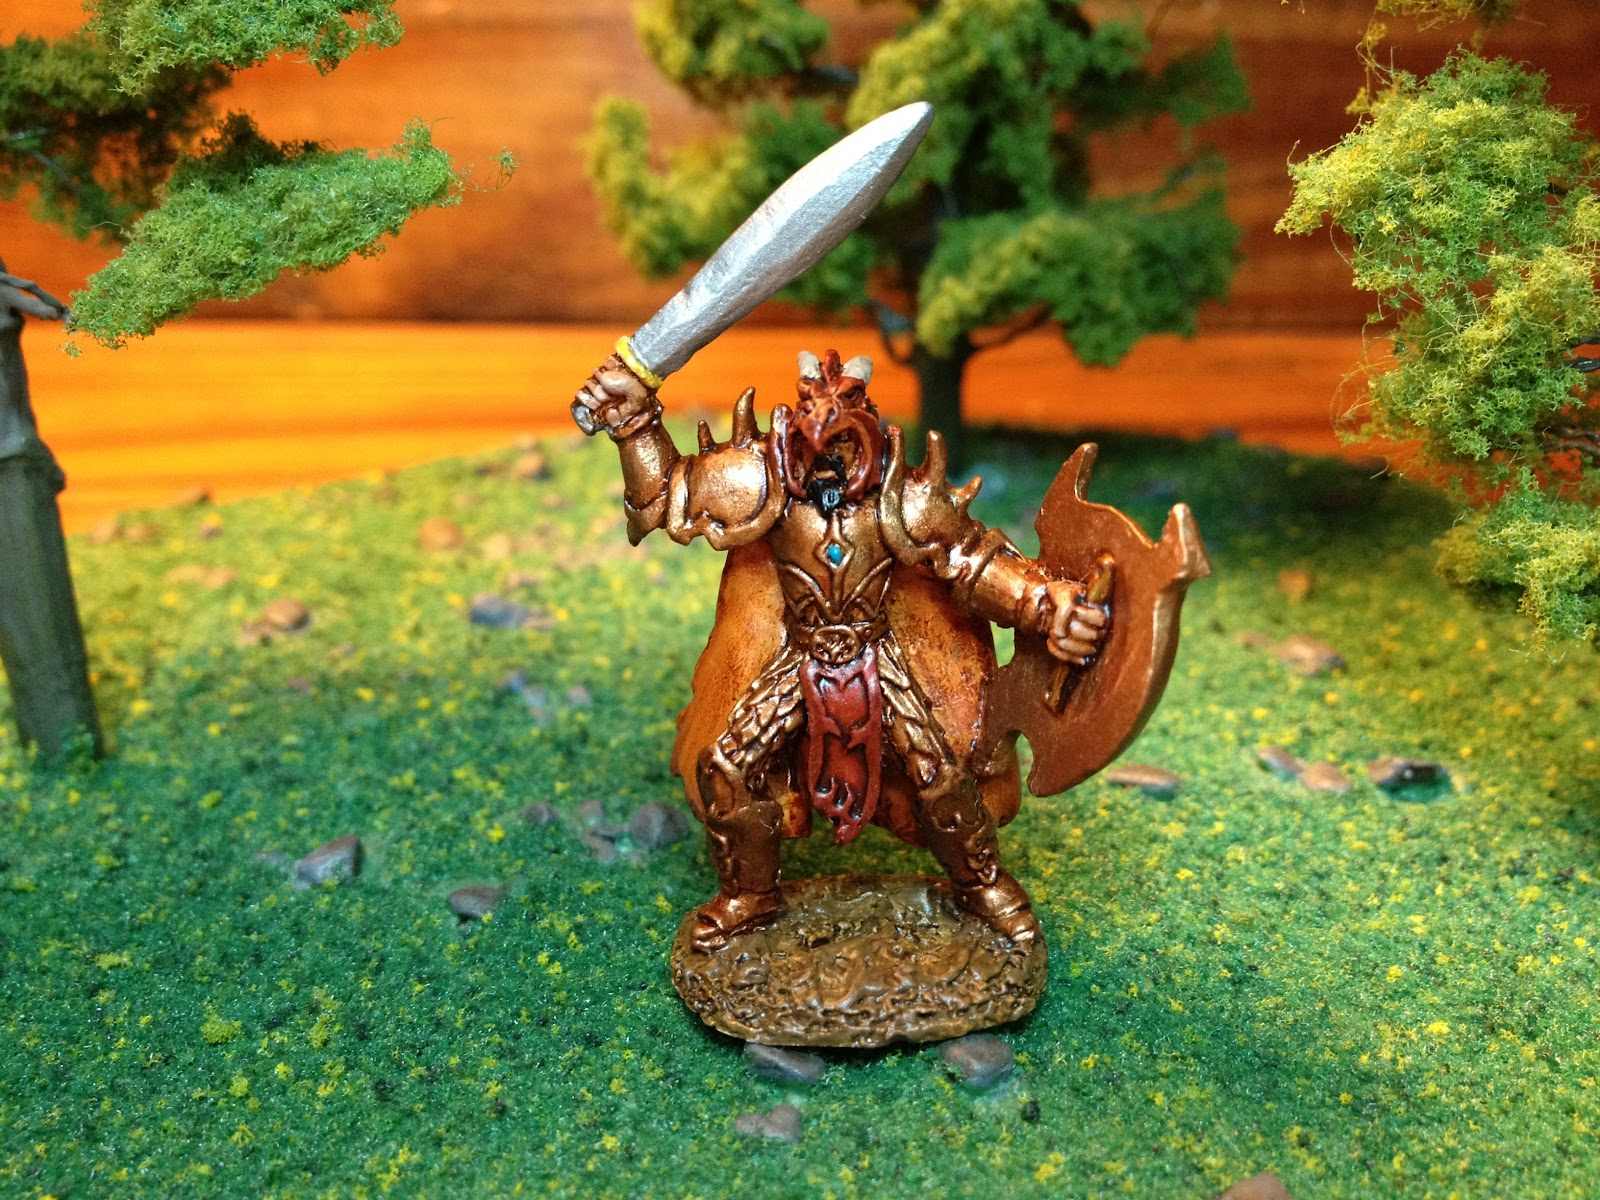
Reaper Bones

Reaper Miniatures has released the first of their line of unpainted plastic miniatures known as Bones. The idea is to have the same Reaper detail that people are used to but at a much lower price point. So far, individual miniatures are priced at between $1.99 and $2.99, while small sets are priced at between $3.49 and $5.49. The ones currently available are all casts of existing Reaper metal miniatures, so I think this may be a good way for cash strapped gamers to start, or add to their collections. I imagine that I will stick with metal minis for the most part, but I think that this is a good idea and wish Reaper great success in this new endeavor.
Monday, March 5, 2012

Tuesday, February 28, 2012
Thrud the Barbarian: Step by Step - Highlighting and Sealing
At last we're near the end! We have arrives at the final stages, highlighting and sealing. Now I'll be the first to admit that I'm not very good at highlighting, but I like to try to make a go of it anyway. I dry brushed silver onto the hard edges of Thrud's axe and helmet to make them stand out. I did the same for the studs on his belt. Then I used a brownish yellow on the ground to make it stand out a bit better. A little light brown on the edges of his loincloth, and I was done. Nothing too hard, just a little work to make the miniature look a bit more finished. And there you have it. All Thrud needs is a coat or two of clear sealant. For sealing my miniatures, I use a two step process. First, I spray-coat the miniature with Rustoleum Crystal Clear Enamel. This gives a hard coating that will stand up to the rigors of the gaming table, but it's way too shiny for actual use. So after letting that coat dry over night, I use a spray-coating of Testors Dullcote, which eliminates the shininess. Finally, I brush-coat the areas that are supposed to be shiny, such as jewels or shiny metals, with a gloss coating such as Games Workshop's 'ARDCOAT or Model Master Gloss Clear Acryl. And there you have it, he is ready for the gaming table!

Afterward: I've been toying with the idea of adding some clumps of static grass to the base, but I still haven't decided on that. If I do, I'll be sure to post a follow up.
Saturday, February 25, 2012
Thrud the Barbarian: Step by Step - Shading
Now that the main colors are done, it's time to add some shading with washes. These can be a bit tricky. I can't count the number of times that I've used too dark a wash and had to repaint sections of a miniature!
I started by applying a heavy wash of sepia to the base. This helps to bing out the texture of the gravel.

Next, I applied a darker brown wash to the belt and axe haft.

Then, I applied the same sepia wash that I'd used on the base o the loincloth. I was tempted to use the same darker brown that I'd used on the belt, but in the end, I was glad that I'd gone with the lighter wash, as I think it made the loincloth stand out from the belt a bit better.
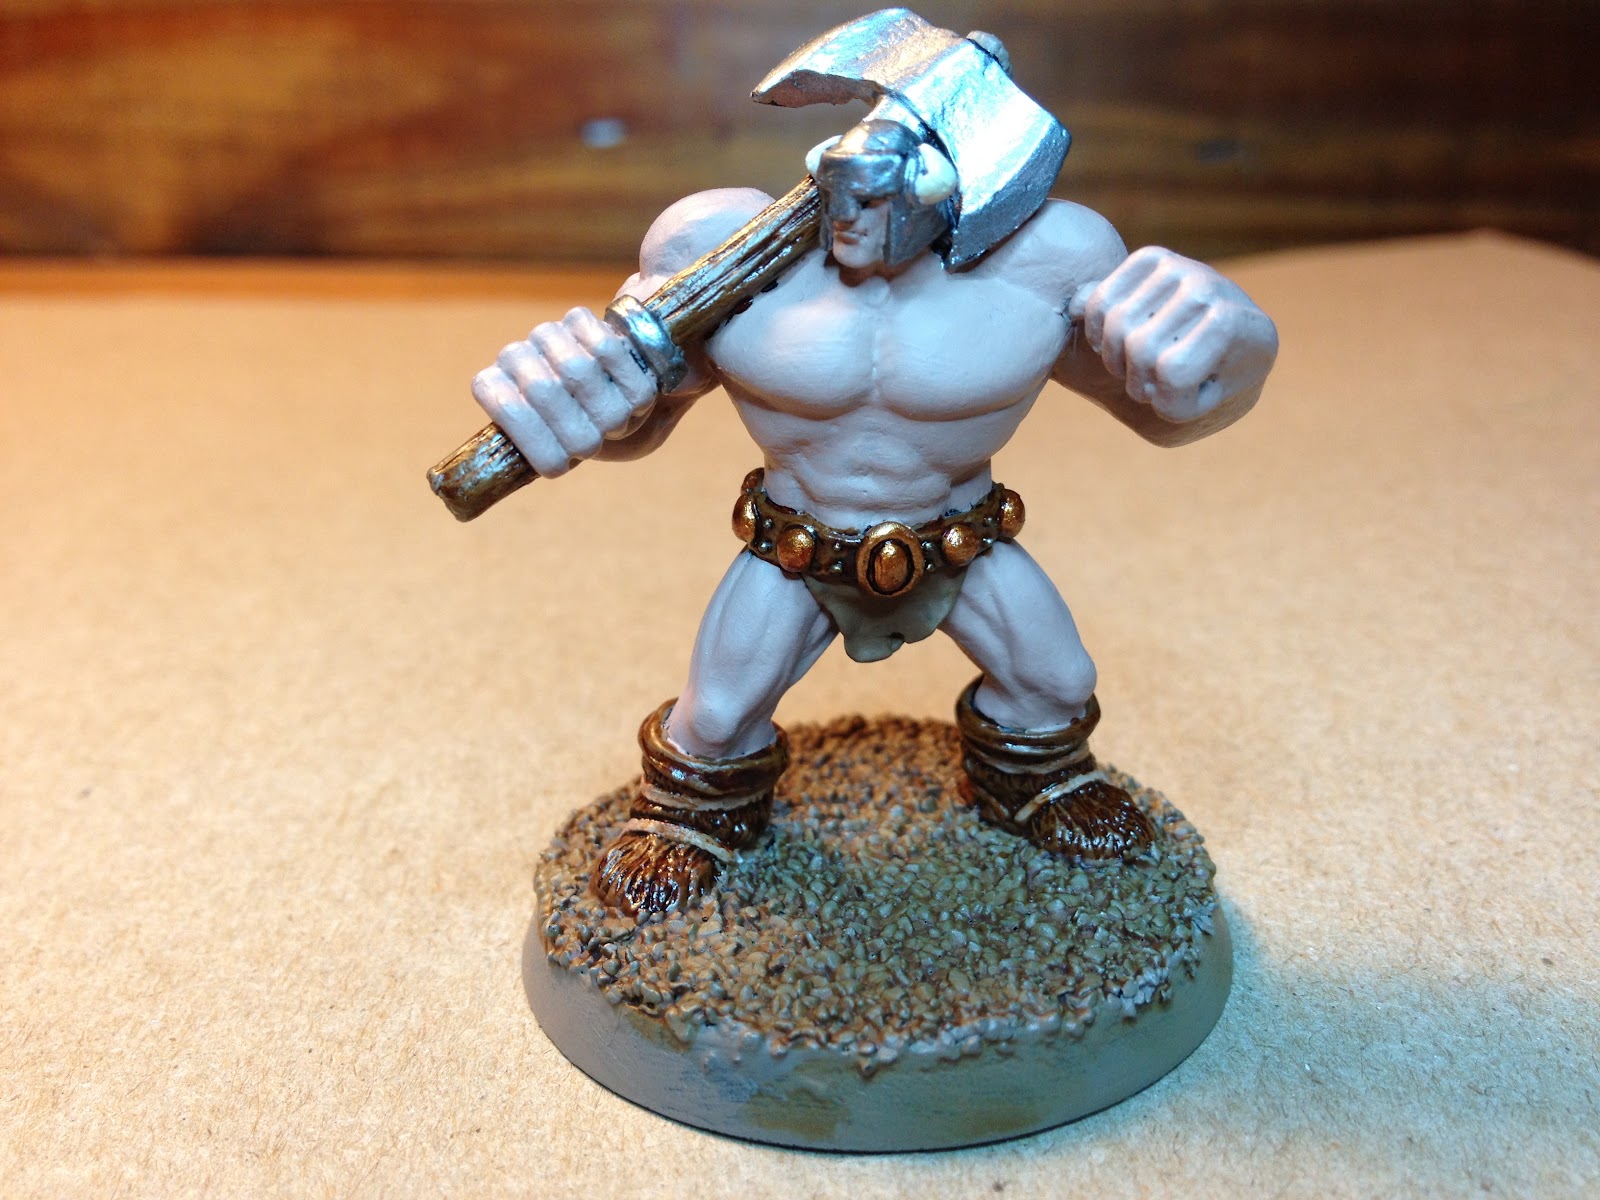
Then, it was back to the darker brown was for the boots. I was careful to avoid the straps at first. This allowed me to use a slightly watered down dark brown wash on them so that they would stand out better.

Next, I used a muddy greyish black wash on the helmet and axe head. This helps to bring out some of the detail in the recesses and also makes them less shiny.

Finally, we come to what I consider to be the trickiest part of shading, the flesh. When I mess up, this is usually where it happens. Fortunately, this time it didn't go too badly. I applied the wash to all of the flesh colored areas to shade the muscle lines and facial features. In then end, I wish that I had watered the wash down just a tiny bit, but overall, I'm not too disappointed with it. Thrud has just been well bronzed by the rays of the ancient sun!

Next: Highlighting!
Friday, February 24, 2012
Thrud the Barbarian: Step by Step - Painting
So now we get to the meat of the process, actually painting! For the first step, I used two coats of flesh colored paint to cover most of the model. He is a barbarian after all. I also painted the base and the haft of his axe in a light brown,
Next, I painted the leather areas, boots, belt, and loincloth, being careful not to get any on the flesh areas.
The boot straps were time consuming, I chose a lighter color for them, so that they would show up against the brown of the boots.
Next, I moved on the the ornamentation on Thrud's belt. I decided to go with a coppery color for some contrast. The small metal studs along the belt were done in a dark silver.
Next I moved on to the metal areas, helmet and axe head. Again, I had to be careful not to get any on the flesh colored areas. Not that I couldn't have fixed it, but I just wanted to avoid the extra work.
Finally, I painted the horns on Thrud's helmet, and the main painting was done!
Next: Shading with washes!
 |
| Thrud with a base coat of flesh paint |
Next, I painted the leather areas, boots, belt, and loincloth, being careful not to get any on the flesh areas.
 |
| Thrud with his belt, boots, and loincloth painted |
The boot straps were time consuming, I chose a lighter color for them, so that they would show up against the brown of the boots.
 |
| Thrud with his boot straps painted |
Next, I moved on the the ornamentation on Thrud's belt. I decided to go with a coppery color for some contrast. The small metal studs along the belt were done in a dark silver.
 |
| Thrud with some belt ornamentation |
Next I moved on to the metal areas, helmet and axe head. Again, I had to be careful not to get any on the flesh colored areas. Not that I couldn't have fixed it, but I just wanted to avoid the extra work.
 |
| Thrud is totally metal! |
 |
| A good helmet needs horns |
Next: Shading with washes!
Subscribe to:
Posts (Atom)