

From the smoking ruins of The Silent Sorcerer's tower, Skullsword sends forth nonsensical artwork and useless gaming tools. He also likes to discuss RPGs, boardgames, miniatures painting, writing, movies, books, and whatever else strikes his fancy. Mostly though, his goal is to provide fun and goofy things to inspire others in their games. Enjoy!
Sunday, March 25, 2012


Monday, March 19, 2012

Friday, March 16, 2012
M.A.R. Barker
Word has it that Professor Muhammad And-al-Rahman Barker, creator of the world of Tekumel has died. A sad day for fantasy enthusiast and gamers alike.


Jack Vance
There is now an official Jack vance website! If you like Jack Vance, go check it out. If you don't know who Jack Vance is, read his Dying Earth books, and then go check it out! :-)


Sunday, March 11, 2012
Saturday, March 10, 2012
Reaper Bones

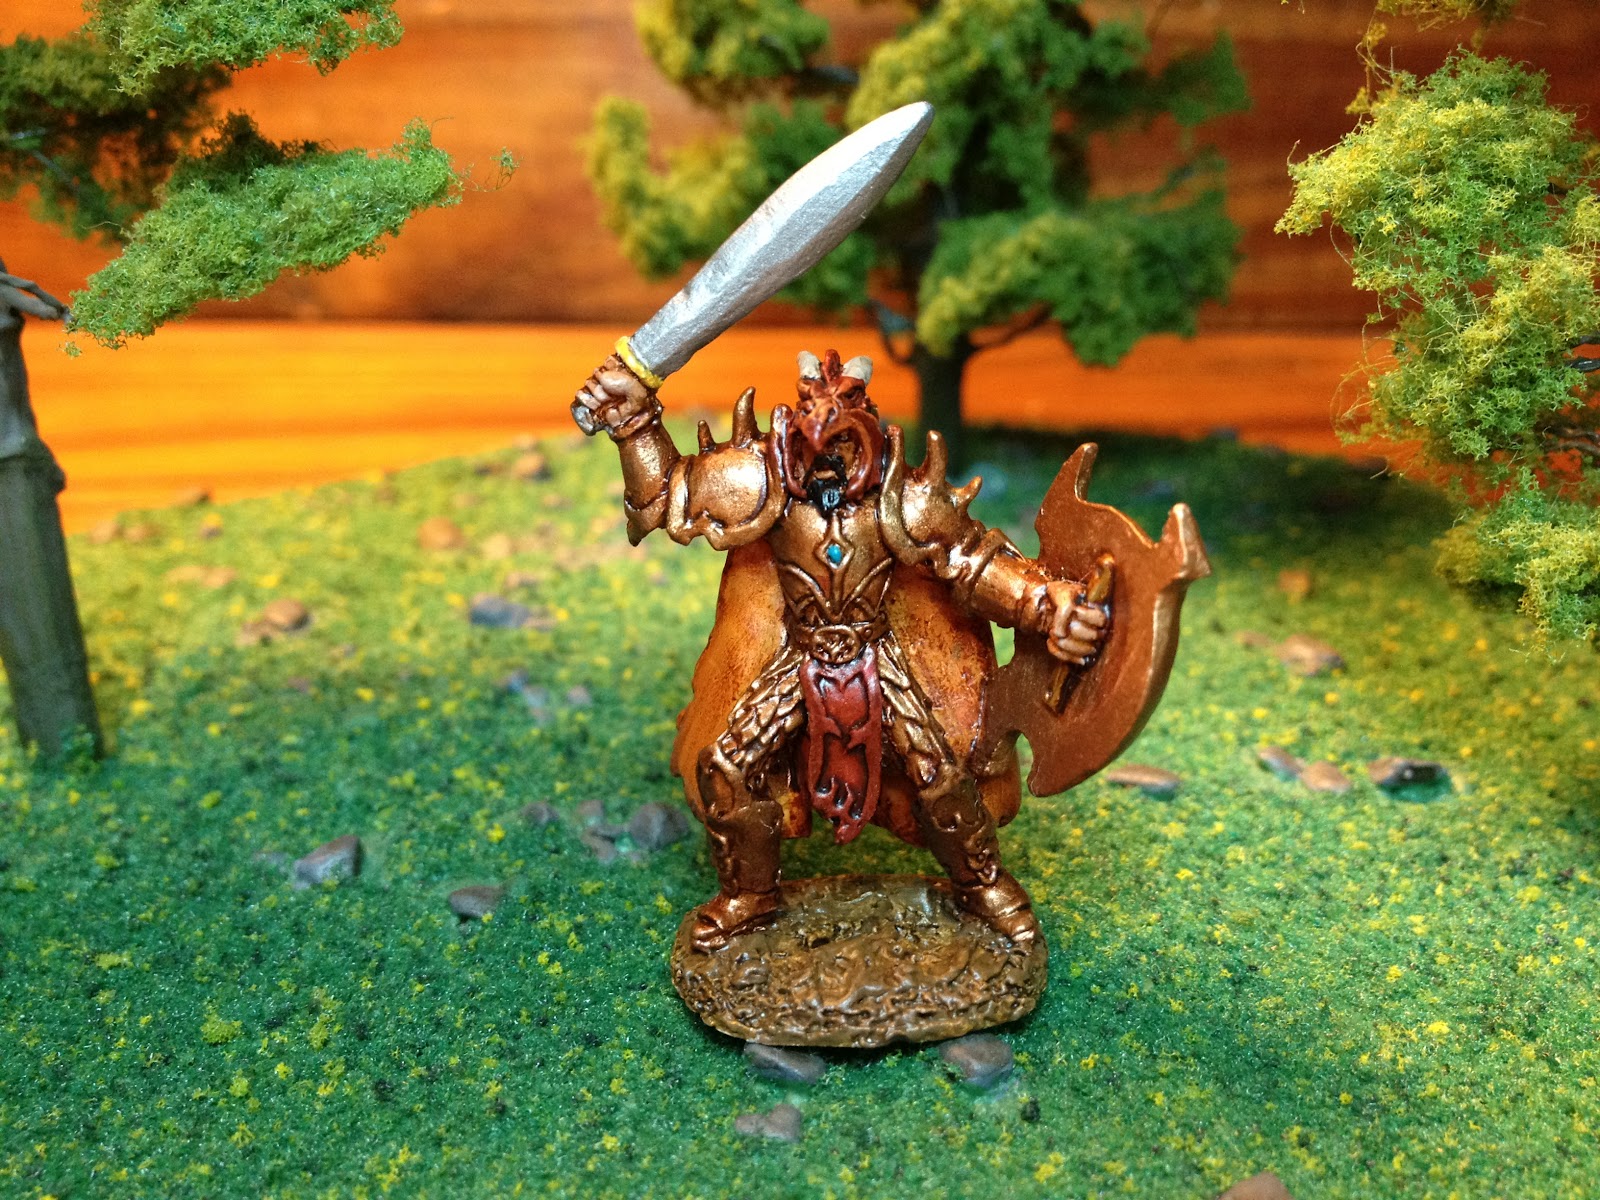
Reaper Miniatures has released the first of their line of unpainted plastic miniatures known as Bones. The idea is to have the same Reaper detail that people are used to but at a much lower price point. So far, individual miniatures are priced at between $1.99 and $2.99, while small sets are priced at between $3.49 and $5.49. The ones currently available are all casts of existing Reaper metal miniatures, so I think this may be a good way for cash strapped gamers to start, or add to their collections. I imagine that I will stick with metal minis for the most part, but I think that this is a good idea and wish Reaper great success in this new endeavor.
Monday, March 5, 2012

Tuesday, February 28, 2012
Thrud the Barbarian: Step by Step - Highlighting and Sealing
At last we're near the end! We have arrives at the final stages, highlighting and sealing. Now I'll be the first to admit that I'm not very good at highlighting, but I like to try to make a go of it anyway. I dry brushed silver onto the hard edges of Thrud's axe and helmet to make them stand out. I did the same for the studs on his belt. Then I used a brownish yellow on the ground to make it stand out a bit better. A little light brown on the edges of his loincloth, and I was done. Nothing too hard, just a little work to make the miniature look a bit more finished. And there you have it. All Thrud needs is a coat or two of clear sealant. For sealing my miniatures, I use a two step process. First, I spray-coat the miniature with Rustoleum Crystal Clear Enamel. This gives a hard coating that will stand up to the rigors of the gaming table, but it's way too shiny for actual use. So after letting that coat dry over night, I use a spray-coating of Testors Dullcote, which eliminates the shininess. Finally, I brush-coat the areas that are supposed to be shiny, such as jewels or shiny metals, with a gloss coating such as Games Workshop's 'ARDCOAT or Model Master Gloss Clear Acryl. And there you have it, he is ready for the gaming table!

Afterward: I've been toying with the idea of adding some clumps of static grass to the base, but I still haven't decided on that. If I do, I'll be sure to post a follow up.
Saturday, February 25, 2012
Thrud the Barbarian: Step by Step - Shading
Now that the main colors are done, it's time to add some shading with washes. These can be a bit tricky. I can't count the number of times that I've used too dark a wash and had to repaint sections of a miniature!
I started by applying a heavy wash of sepia to the base. This helps to bing out the texture of the gravel.

Next, I applied a darker brown wash to the belt and axe haft.

Then, I applied the same sepia wash that I'd used on the base o the loincloth. I was tempted to use the same darker brown that I'd used on the belt, but in the end, I was glad that I'd gone with the lighter wash, as I think it made the loincloth stand out from the belt a bit better.
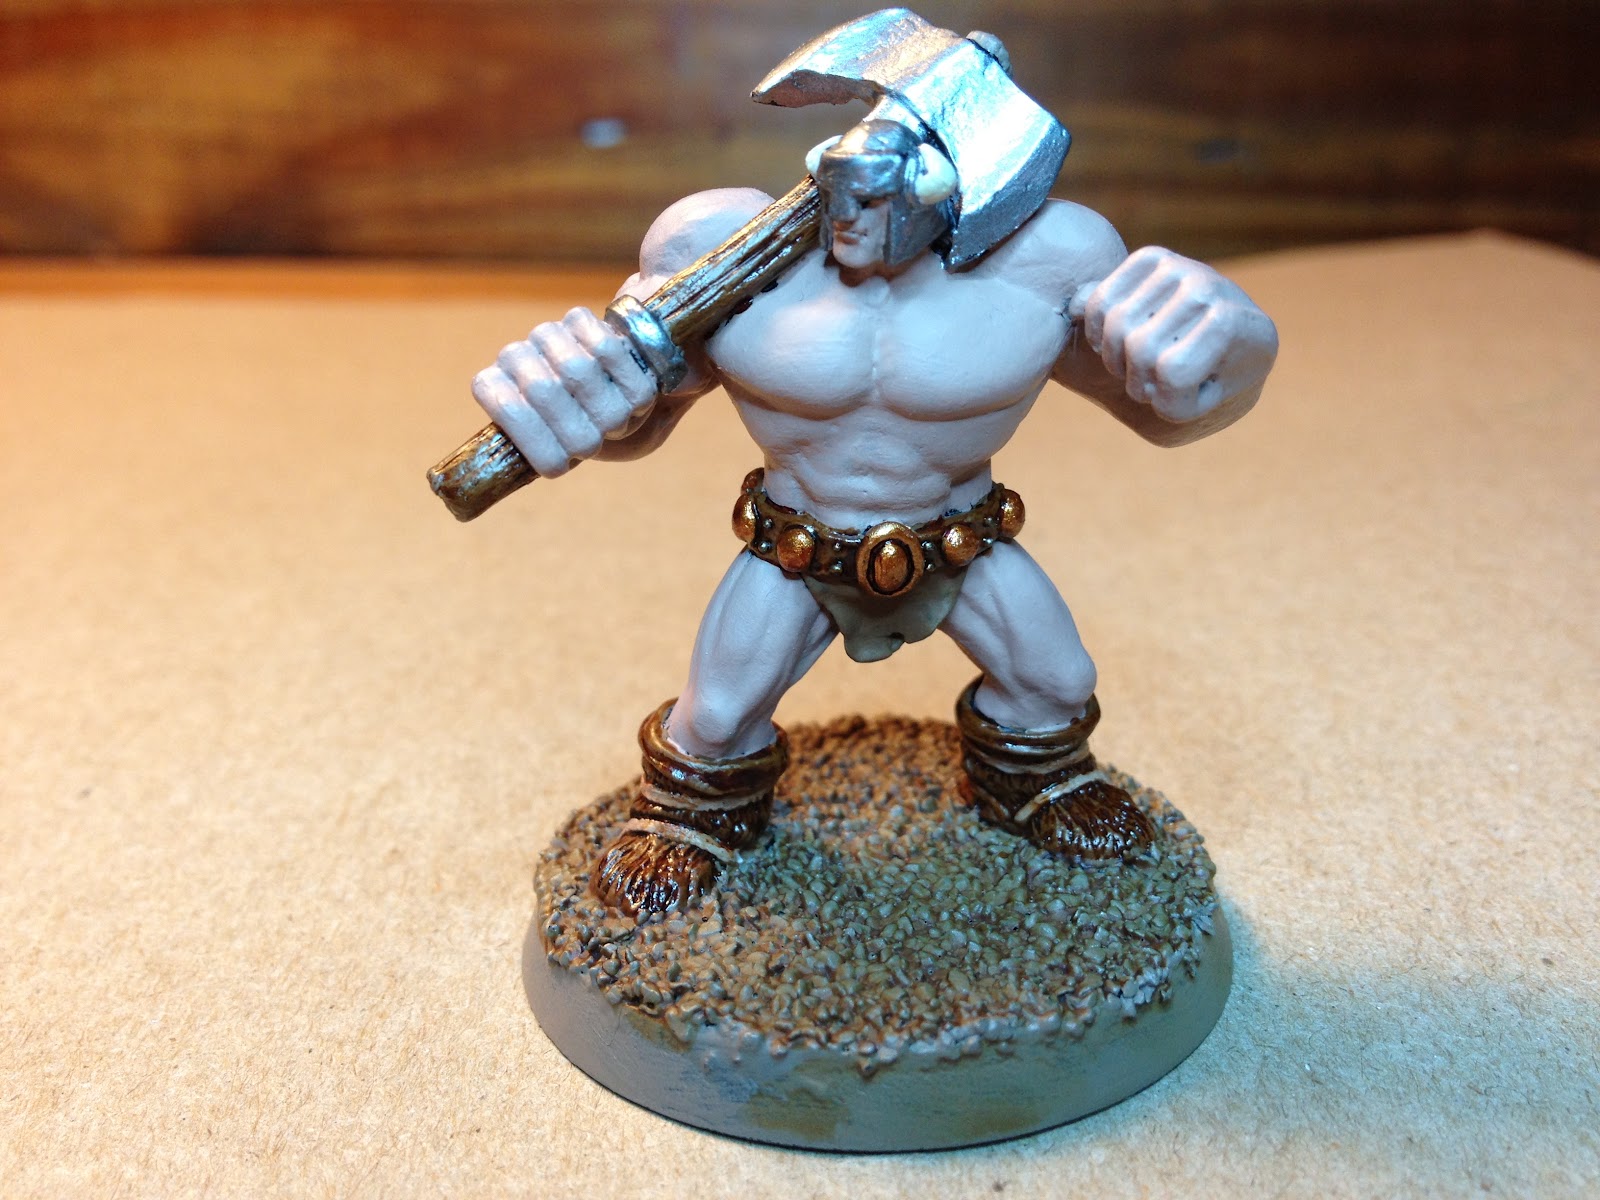
Then, it was back to the darker brown was for the boots. I was careful to avoid the straps at first. This allowed me to use a slightly watered down dark brown wash on them so that they would stand out better.

Next, I used a muddy greyish black wash on the helmet and axe head. This helps to bring out some of the detail in the recesses and also makes them less shiny.

Finally, we come to what I consider to be the trickiest part of shading, the flesh. When I mess up, this is usually where it happens. Fortunately, this time it didn't go too badly. I applied the wash to all of the flesh colored areas to shade the muscle lines and facial features. In then end, I wish that I had watered the wash down just a tiny bit, but overall, I'm not too disappointed with it. Thrud has just been well bronzed by the rays of the ancient sun!

Next: Highlighting!
Friday, February 24, 2012
Thrud the Barbarian: Step by Step - Painting
So now we get to the meat of the process, actually painting! For the first step, I used two coats of flesh colored paint to cover most of the model. He is a barbarian after all. I also painted the base and the haft of his axe in a light brown,
Next, I painted the leather areas, boots, belt, and loincloth, being careful not to get any on the flesh areas.
The boot straps were time consuming, I chose a lighter color for them, so that they would show up against the brown of the boots.
Next, I moved on the the ornamentation on Thrud's belt. I decided to go with a coppery color for some contrast. The small metal studs along the belt were done in a dark silver.
Next I moved on to the metal areas, helmet and axe head. Again, I had to be careful not to get any on the flesh colored areas. Not that I couldn't have fixed it, but I just wanted to avoid the extra work.
Finally, I painted the horns on Thrud's helmet, and the main painting was done!
Next: Shading with washes!
 |
| Thrud with a base coat of flesh paint |
Next, I painted the leather areas, boots, belt, and loincloth, being careful not to get any on the flesh areas.
 |
| Thrud with his belt, boots, and loincloth painted |
The boot straps were time consuming, I chose a lighter color for them, so that they would show up against the brown of the boots.
 |
| Thrud with his boot straps painted |
Next, I moved on the the ornamentation on Thrud's belt. I decided to go with a coppery color for some contrast. The small metal studs along the belt were done in a dark silver.
 |
| Thrud with some belt ornamentation |
Next I moved on to the metal areas, helmet and axe head. Again, I had to be careful not to get any on the flesh colored areas. Not that I couldn't have fixed it, but I just wanted to avoid the extra work.
 |
| Thrud is totally metal! |
 |
| A good helmet needs horns |
Next: Shading with washes!
Wednesday, February 22, 2012
Thrud the Barbarian: Step by Step - Priming
Now we come to possibly the most boring stage of the painting process, priming. No amount of flavor text is going to make this exciting, but that won't stop me from trying. :-)
Of course, we all know that priming is a very important step in the miniatures painting process, at least if we want the paint to stick for any length of time. Spray primer is the way to go unless you live in a place where you can never go outside. It gives a smoother and more even finish than any brush primer I've ever found. I generally use three colors of primer, white, black, or grey, depending on the paint colors that I'm using, what I have around the house, and my general mood on the day of the priming. For light colors and pastels, I generally use white primer, as it makes the colors appear brighter. For darker colors and heavily armored figures, I go with black as it can help out as ready made shading in cases like chain mail armor. Finally, when I'm using colors somewhere in the middle, or I just can't decide, or I'm out of both black and white primer, I'll go with grey. In the case of Thrud, I decided to go with black, even though he was going to be mostly flesh colored. I knew that this would probably necessitate two coats for the flesh areas, but I decided that I was fine with that as it's a big miniature, and more coats are better for durability anyway.
Next, we'll start with the actual painting!
Of course, we all know that priming is a very important step in the miniatures painting process, at least if we want the paint to stick for any length of time. Spray primer is the way to go unless you live in a place where you can never go outside. It gives a smoother and more even finish than any brush primer I've ever found. I generally use three colors of primer, white, black, or grey, depending on the paint colors that I'm using, what I have around the house, and my general mood on the day of the priming. For light colors and pastels, I generally use white primer, as it makes the colors appear brighter. For darker colors and heavily armored figures, I go with black as it can help out as ready made shading in cases like chain mail armor. Finally, when I'm using colors somewhere in the middle, or I just can't decide, or I'm out of both black and white primer, I'll go with grey. In the case of Thrud, I decided to go with black, even though he was going to be mostly flesh colored. I knew that this would probably necessitate two coats for the flesh areas, but I decided that I was fine with that as it's a big miniature, and more coats are better for durability anyway.
 |
| Thrud primed and ready for painting |
Next, we'll start with the actual painting!
Tuesday, February 21, 2012
Thrud the Barbarian: Step by Step - Assembly and basing
Since every warrior needs good footing, and because most of the experts tell us that the keys to good miniatures are faces and bases, today we will focus on mounting Thrud on his base.
Step one is to cut a hole in the base and fit the miniature in to determine appropriate positioning.
Step two is applying epoxy to the base so that Thrud actually sticks to it!
Third, we coat the still wet epoxy with basing material. In this case I'm going for a desert look, and to the I'm using tiny gravel to bury Thrud. No doubt, he'll face far worse dangers in his adventures in the future.
Finally, after the glue has set, we brush away the excess gravel and are left with Thrud happily installed on his new base!
Next we shall focus on priming and adding the first coats of paint.
Step one is to cut a hole in the base and fit the miniature in to determine appropriate positioning.
 |
| Thrud trying out his new base |
Step two is applying epoxy to the base so that Thrud actually sticks to it!
 |
| Thrud epoxied |
Third, we coat the still wet epoxy with basing material. In this case I'm going for a desert look, and to the I'm using tiny gravel to bury Thrud. No doubt, he'll face far worse dangers in his adventures in the future.
 |
| Thrud in gravel |
Finally, after the glue has set, we brush away the excess gravel and are left with Thrud happily installed on his new base!
 |
| Thrud suitably based for painting |
Next we shall focus on priming and adding the first coats of paint.
Thrud the Barbarian: Step by Step - Preparation
Thrud may well be everyone's (well, maybe everyone in the U.K.'s) favorite pinheaded barbarian.

Years back Citadel Miniatures put out a limited edition set of Thrud the Barbarian miniatures. I've recently acquired one of them and plan to use it as a walkthrough of the process for prepping, assembling, and painting my miniatures. The first step, and also my least favorite, is the cleaning and preparation of the miniature. I clean all of the mold lines with small files, fine grit sandpaper, and steel wool. Without doing this, washes will pool near the mold lines ruining the end result. This can be one of the most labor intensive parts of the process depending on the quality of the miniature's casting. In the case of Thrud here, it wasn't too bad, despite the fact that this is an old miniature. Once the mold lines have been cleaned, I wash the miniature in a solution of dish liquid then rinse it and let it dry thoroughly overnight. This removes any oils left over from either the casting process or my fingers.
 |
| Thrud, cleaned and ready for basing |
Monday, February 20, 2012
Hugh the Barbarian

I'm rather on the fence about the whole Dungeon Crawl Classics RPG. While it's nice to see Goodman games embracing the whole old school feel vibe (although old school barbarians never wore bellbottoms as far as I can remember), I'm not sure the world needs yet another retro-clone. The whole old school renaissance thing has done that to death in my opinion. Honestly, if you want old school, give Tunnels & Trolls a try. It's been essentially the same game for 35 years, and didn't need a renaissance to bring it back. :-)
Sunday, February 19, 2012

Subscribe to:
Posts (Atom)